Solar power systems are designed for long-term performance, but regular maintenance is still important to ensure they continue operating safely and efficiently. Exposure to harsh weather, dirt, debris, wildlife and everyday wear can gradually reduce output or lead to unexpected faults, making routine checks and preventative solar system repairs an important part of protecting your investment.
Platinum Solar Group helps homeowners and businesses keep their systems running reliably by identifying minor concerns before they develop into more serious performance or safety issues.
This article outlines five practical annual maintenance steps that can help maximise energy production, extend the lifespan of your solar system and reduce the likelihood of avoidable repairs. From reviewing performance data and inspecting panels from ground level to checking inverter alerts and knowing when to arrange a professional inspection, these steps can help keep your system operating safely and efficiently.
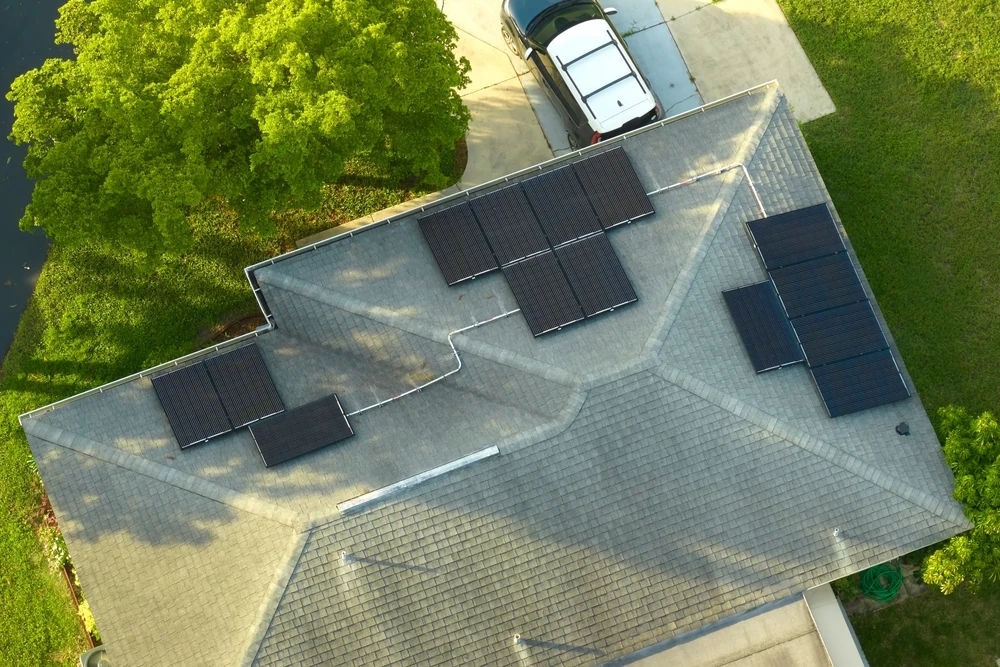
Reviewing solar performance each year is one of the easiest ways to identify issues before they become expensive to repair. A structured check of how the system has been operating can reveal unexplained drops in output, shading changes, inverter issues or early signs that a panel string may not be performing as expected.
This annual review does not need to be complicated. With access to your monitoring app or portal and recent electricity bills, you can compare what the system has been producing against previous periods and decide whether further inspection or servicing may be needed.
Begin with the system monitoring portal or app. Review monthly and daily production data from the past 12 months and look for any clear dips in solar generation that cannot be explained by seasonal changes, long periods of rain or known weather events.
Next, compare this information with your electricity bills. Key points to check include:
A noticeable increase in grid electricity use during sunny months may indicate that the solar system is not producing as much as it should, even if the inverter appears to be running.
Solar output should roughly align with the size of the system, local climate, panel orientation, shading and the time of year. As a broad example, a healthy 6.6 kW system in many Australian locations may average around 20 to 28 kWh per day across the year. However, actual output will vary depending on location, roof direction, weather, shading, panel condition and system design.
When reviewing the past year, check whether:
A persistent reduction of 10 to 20 per cent or more compared with previous years or similar local systems may indicate panel soiling, new shading, wiring issues, connection problems or gradual inverter decline.
Different production patterns can point to different types of issues. A sudden drop in output from a specific date that does not recover may indicate an inverter fault, tripped safety device, damaged panel string or electrical issue. Repeated dips at the same time each day may suggest shading. A slow decline over several months may point to dirt buildup, panel degradation or changing site conditions.
It is also useful to match performance changes with known events, such as roof work, storms, hail, nearby construction or tree growth. Keep notes, photos and screenshots of monitoring graphs so a technician has a clearer record to work from if an inspection is needed.
A simple year-on-year performance review gives a solar professional useful information and helps prevent small issues from turning into larger faults.
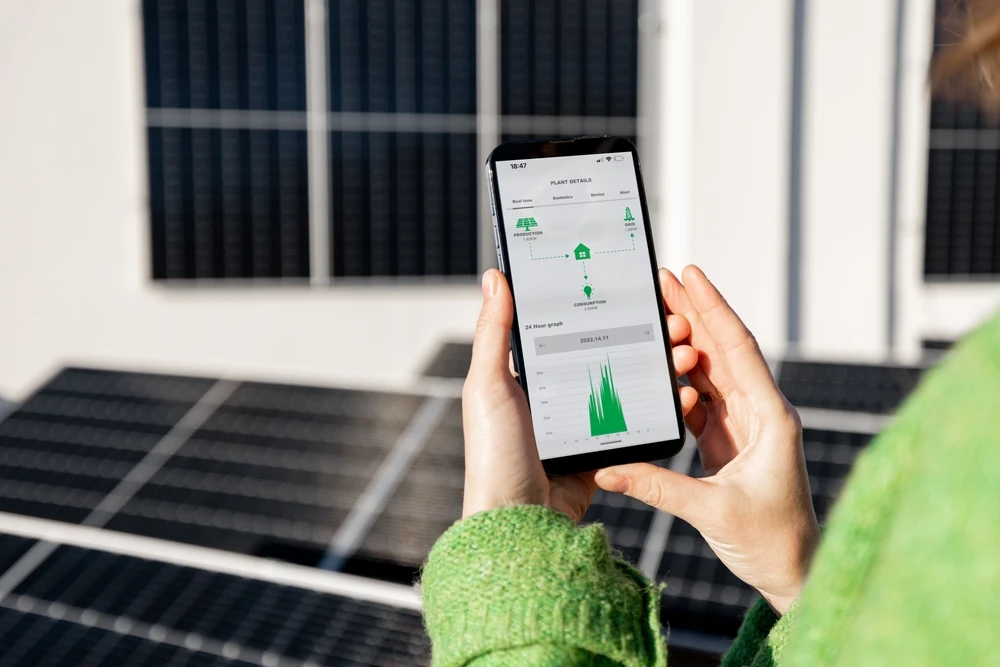
A visual inspection from ground level is a safe way to identify obvious damage or changes to the solar array. This check should not involve climbing onto the roof or touching panels, wiring, isolators or electrical components. Solar systems contain live electrical equipment, so roof access and electrical testing should be left to trained professionals.
From the ground, or from another safe vantage point, many visible issues can still be identified with careful observation. A phone camera zoom or binoculars can help you inspect the system without needing to access the roof.
Start by viewing the panels in clear daylight. Morning or late afternoon light can sometimes make surface issues easier to see than harsh midday sun.
Look for:
Fine hairline cracks can be difficult to see from the ground, but spiderweb patterns, pale lines across cells or obvious glass damage should be recorded and reported to a licensed solar technician. Visible cracking, delamination or discolouration should not be ignored, as these issues can affect performance and may need warranty assessment.
While inspecting the panels, also look at the way the system sits on the roof. Mounting issues can lead to movement, water ingress or long-term damage if they are not addressed.
From a safe position, check for:
Any sign of roof damage near the solar array should be investigated promptly. Water ingress can affect both the roof structure and nearby solar wiring, leading to more serious issues if left unresolved.
Take clear photos of anything that looks unusual and keep them with your solar system paperwork. Taking similar photos each year makes it easier to spot subtle changes over time, such as panel movement, increasing discolouration, roof wear or gradual hardware deterioration.
This record can also help a technician diagnose problems faster during a professional inspection.
Environmental changes around a solar system can have a significant impact on performance. Trees grow, neighbouring structures change, rooftop equipment is added and birds may begin nesting under panels. These issues can reduce output and, in some cases, contribute to damage around the array.
This part of annual maintenance focuses on what has changed around the system since installation.
Shading is not a set-and-forget issue. A roof that was clear when the system was installed may become partially shaded over time. At least once a year, check the roof area at different times on a sunny day, ideally in the morning, around midday and in the afternoon.
Look for shadows from:
Even partial shade across a small section of a panel can reduce the output of a string, depending on the system design. If shading has developed, consider whether branches can be trimmed safely by a qualified arborist or whether a solar professional should assess the system for possible reconfiguration.
Monitoring data can also help confirm shading. Regular dips in output at the same time each day often point to a shading issue rather than a general equipment fault.
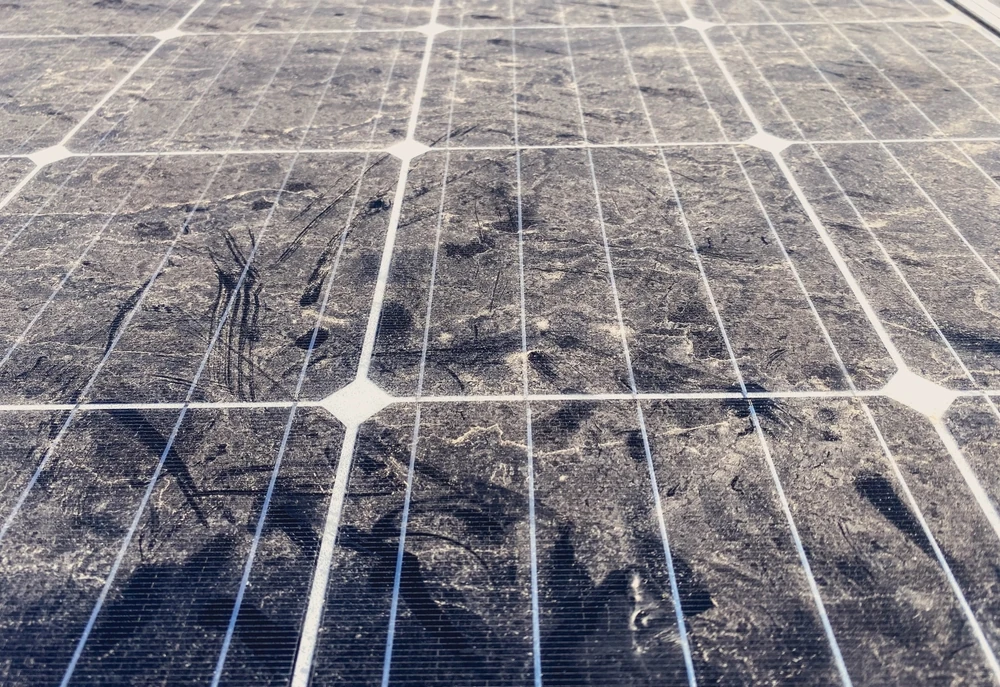
Panels naturally collect dust, pollen, road grime, coastal salt, ash, leaves and other debris. Light soiling is often reduced by rainfall, but heavier or localised deposits can have a greater effect on output.
From the ground, look for:
A thin, even layer of dust may only have a modest effect, but heavy deposits on a small section of a panel can reduce performance and may contribute to hotspots. Avoid harsh chemicals, abrasive tools and high-pressure cleaning, as these can damage panel surfaces, seals or coatings.
Where panels are visibly dirty, difficult to access or installed on a steep or multi-storey roof, arrange professional cleaning rather than attempting to clean them yourself.
Solar arrays can provide shelter for birds and other pests. Nesting material can trap moisture and debris under panels, while droppings can cause concentrated soiling on the glass. Birds may also disturb exposed cabling or roof surfaces.
During the annual check, look for:
If birds are active around the array, professional solar mesh or critter guards may help prevent access beneath the panels without affecting ventilation. Existing nests should be removed by an appropriate pest or wildlife professional in line with local requirements.
Addressing bird activity early can help prevent corrosion, wiring faults, blocked gutters and water ingress around the solar installation.
The inverter, battery system and monitoring platform often provide the earliest warning signs that something is wrong. Ignoring alerts can allow small issues to become larger faults that affect energy production, battery performance or system safety.
A structured annual review of these components can help identify underperforming panels, wiring faults, communication dropouts and battery issues before they cause extended outages or more costly repairs.
The inverter converts DC power from the solar panels into AC power for use in the home or business. It is also one of the most common places where a system fault will appear.
Start by visually checking the inverter screen or indicator lights. A healthy inverter will usually display a normal operating status, but the exact wording or light pattern will depend on the brand and model.
If the inverter has a display menu, check:
Red or flashing lights, warning symbols or repeated fault codes should be investigated. Common issues may include grid voltage warnings, isolation faults, communication failures or DC-related errors.
Even if the system appears to be operating, recurring faults in the history can indicate a component that is deteriorating and should be assessed before it fails completely.
Take photos of any warning codes or messages so they can be passed on to a technician.
For solar systems with battery storage, the battery management system provides important information about health and performance. Check the battery app or inverter interface for:
A battery that no longer charges fully, drops unusually quickly overnight or regularly shows warnings may need professional assessment. Frequent grid disconnects or communication failures should also be reviewed, as they may affect backup performance during an outage.
Battery issues should not be ignored, especially if the system is relied on for backup power.
Modern solar systems are often connected to an online monitoring portal or app. At least once a year, log in and review the system in more detail.
Check for:
Short, recurring communication dropouts may indicate a Wi-Fi or network issue. This can hide real faults because the system may not be reporting consistently. Extended periods of lower production may point to shading, soiling, panel faults, inverter issues or string problems.
Export or screenshot key graphs and summaries during the annual review. Keeping this record makes it easier to identify gradual changes and gives a technician clearer information if repairs are needed.
d
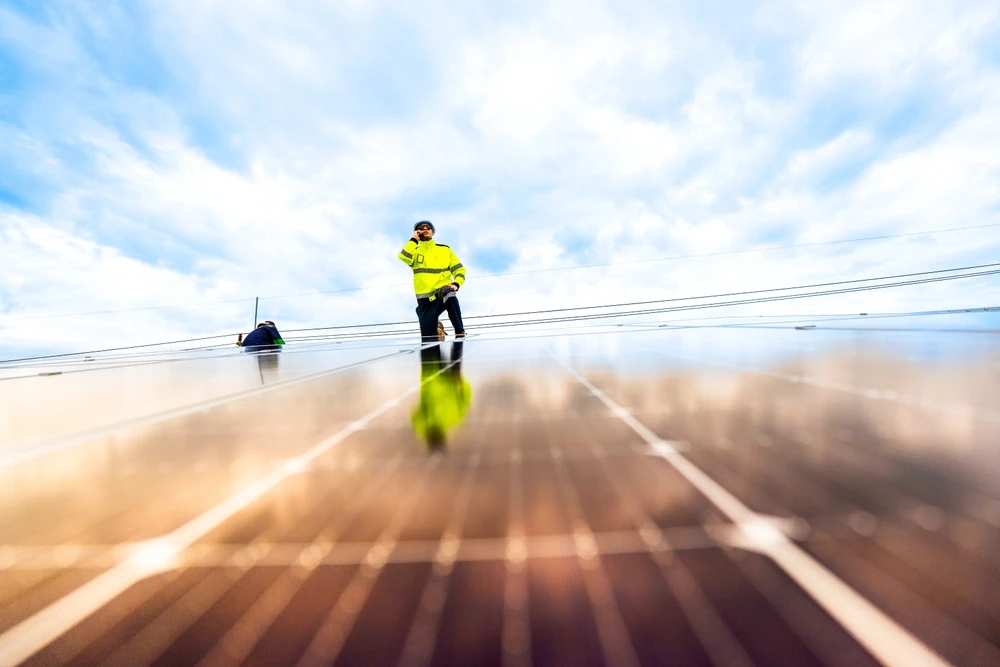
Some solar system issues are easy to see, such as obvious damage or a major drop in output. Other problems develop quietly and may only be detected with proper test equipment. A professional inspection helps confirm whether the system is operating safely, efficiently and in line with manufacturer requirements.
Self-checks are useful, but they do not replace a licensed technician. Electrical testing, roof access, isolator checks, wiring repairs and component replacement should only be handled by qualified professionals.
A professional inspection should be arranged if you notice:
A preventative inspection is also worthwhile every few years, even when the system appears to be working. Older systems approaching 8 to 10 years of operation may benefit from more frequent checks, especially before summer when heat and higher energy demand can place extra strain on components.
A proper solar inspection involves more than a quick look at the panels. A licensed solar technician may:
The technician should provide a written report outlining any defects, recommended repairs and any follow-up action required. This report can also support warranty claims, insurance queries and ongoing system records.
Not every electrician is qualified to inspect or repair a solar PV system. When arranging maintenance or repairs, look for a technician who is:
Before the visit, gather recent electricity bills, monitoring screenshots, original installation paperwork and warranty details. Make sure there is clear access to the switchboard, inverter and any safe roof access point.
This preparation helps the technician diagnose issues more efficiently and provide clear advice about whether repairs may be covered under warranty or need to be completed as paid maintenance.
A consistent annual maintenance routine is one of the most effective ways to protect the safety, performance and lifespan of a solar power system. Reviewing monitoring data, inspecting panels from ground level, checking for shading and debris, reviewing inverter or battery alerts and arranging professional inspections when needed can all help reduce the risk of avoidable repairs.
Regular maintenance also helps maintain energy efficiency, support warranty requirements and give homeowners and businesses confidence that their system is continuing to perform as intended.
Platinum Solar Group provides professional solar maintenance and inspection services to help identify issues early and keep systems operating safely. With the right checks in place, solar owners can protect their investment and maintain reliable performance over the long term.


.webp)

.webp)